使用Hexo搭建个人博客
安装&搭建
安装Node.js
1
2
3
4
5
6
7
8
9
|
~ ruby -e "$(curl -fsSL https://raw.githubusercontent.com/Homebrew/install/master/install)"
~ brew install node
~ node -version
~ npm -version
|
1
| ~ npm install -g hexo-cli
|
安装git
配置GitHub
在你的Github下创建新仓库并将仓库名命名为 GitHub名.github.io这样命名后GitHub会自动 启用 GitHub Pages并将你的博客地址设置为 https://GitHub名.github.io/
初步搭建&本地测试
1
2
3
| ~ hexo init <folder>
~ cd <folder>
~ npm install
|
1
2
3
4
5
6
7
8
| .
├── _config.yml
├── package.json
├── scaffolds
├── source
| ├── _drafts
| └── _posts
└── themes
|
1
2
3
4
5
6
7
|
~ hexo clean
~ hexo generate/g
~ hexo server
|
1
2
3
4
5
6
7
8
9
10
11
12
13
14
15
16
17
| title: SanW
subtitle:
description:
keywords: ios
author:
language: zh-CN
url: http:
root: /
permalink: :year/:month/:day/:title/
permalink_defaults:
theme: icarus
deploy:
type: git
repo:
|
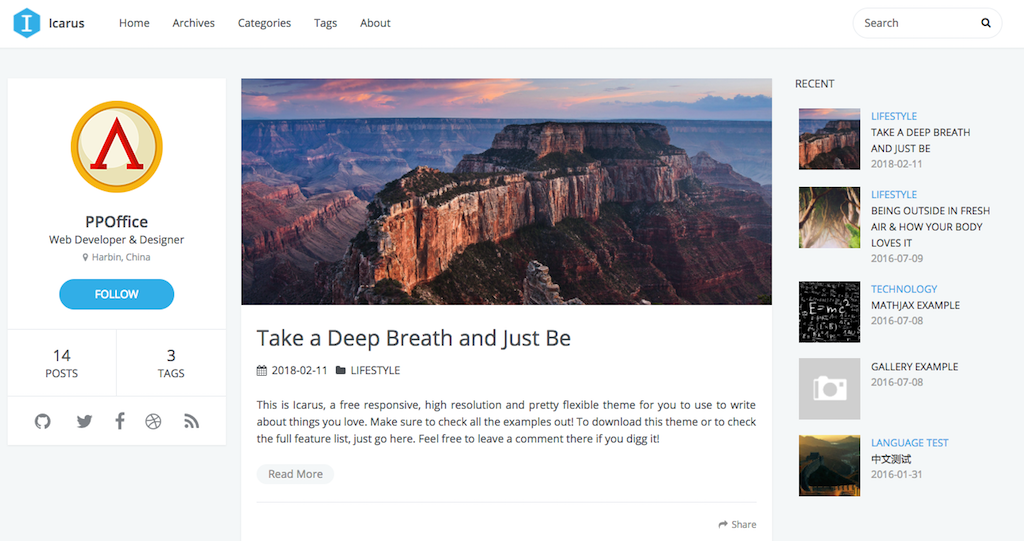
- 在/themes/icarus/_config.yml位置下更改相应主题的_config.yml
1
2
3
4
5
6
7
8
9
10
11
12
13
14
15
16
17
18
19
20
21
22
23
24
25
26
27
28
|
menu:
Home: .
Archives: archives
Categories: categories
Tags: tags
About: about
# Customize
customize:
logo:
enabled: true
width: 40
height: 40
url: images/icon.jpg
profile:
enabled: true
avatar: css/images/icon.jpg
author:
author_title:
location:
follow:
social_links:
github:
Weibo:
email:
social_link_tooltip: true
|
1
2
3
4
5
6
|
~ hexo clean
~ hexo g
~ hexo d
|
添加搜索
- 在/themes/icarus/_config.yml中打开搜索
1
| ~ npm install -S hexo-generator-json-content
|
技巧
部署到github以后hexo只是把相应生成blog的静态文件上传到了相应分支上而非源文件,我们要在其他电脑重新部署时无法使用源文件解决这个问题可以从两方面:
- 新建一个git仓库存放源文件
- 在当前仓库创建一个新分支存放源文件
自定义
添加目录
- icarus文章目录默认是关闭的,打开themes/icarus/layout/common/article.ejs修改判断post.toc != false
1
2
3
4
5
6
7
8
| <% if (!index && post.toc != false) { %>
<div id="toc" class="toc-article">
<strong class="toc-title"><%= __('article.catalogue') %></strong>
<%- toc(post.content) %>
</div>
<% } %>
<%- post.content %>
<% } %>
|
- 修改目录样式,打开themes/icarus/source/css/_partial/archive.styl在底部加入以下代码
1
2
3
4
5
6
7
8
9
10
11
12
13
14
15
16
17
18
19
20
21
22
23
|
.toc-article
background #eee
border 1px solid #bbb
border-radius 10px
margin 1.5em 0 0.3em 1.5em
padding 1.2em 1em 0 1em
max-width 50%
.toc-title
font-size 120%
#toc
line-height 1em
font-size 0.9em
float top
.toc
padding 0
margin 1em
line-height 1.8em
li
list-style-type none
.toc-child
margin-top 1em
|
修改代码块风格
在theme/_config.yml下修改highlight,支持的样式在icarus/source/css/_highlight文件夹下
1
2
|
highlight: tomorrow-night # icarus/source/css/_highlight
|
未完待续…